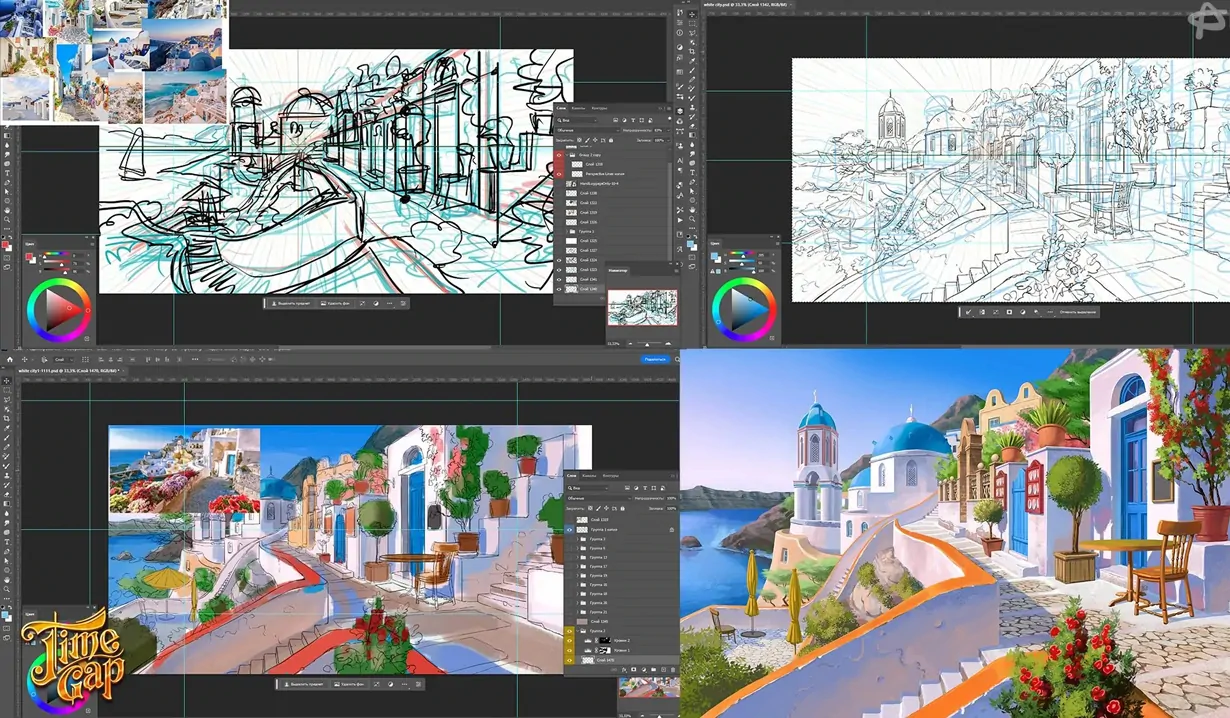
How to Create the Ideal Concept?
January 03, 2024
In the first article of our blog we have already written about the game production pipeline, and now we would like to talk in more detail about the process of creating a game location for HOG games. It all starts with the Concept stage.
Creating a sketch for a HOG game like Time Gap involves a combination of creativity, attention to detail, and an understanding of the game's themes and story. Keep in mind that the process is really hard and requires a lot of skills. But if you are dreaming of being the concepter, here's a step-by-step guide to help you get started:
1. Understand the Game's Theme and Story:
- Familiarize yourself with the game's narrative, setting, and themes. This will help you create concept art that aligns with the overall vision of the game.
2. Research and Gather Inspiration:
- Look for inspiration in existing Hidden Object Games or other genres. Collect references related to the game's setting, time period and any specific elements that need to be included.
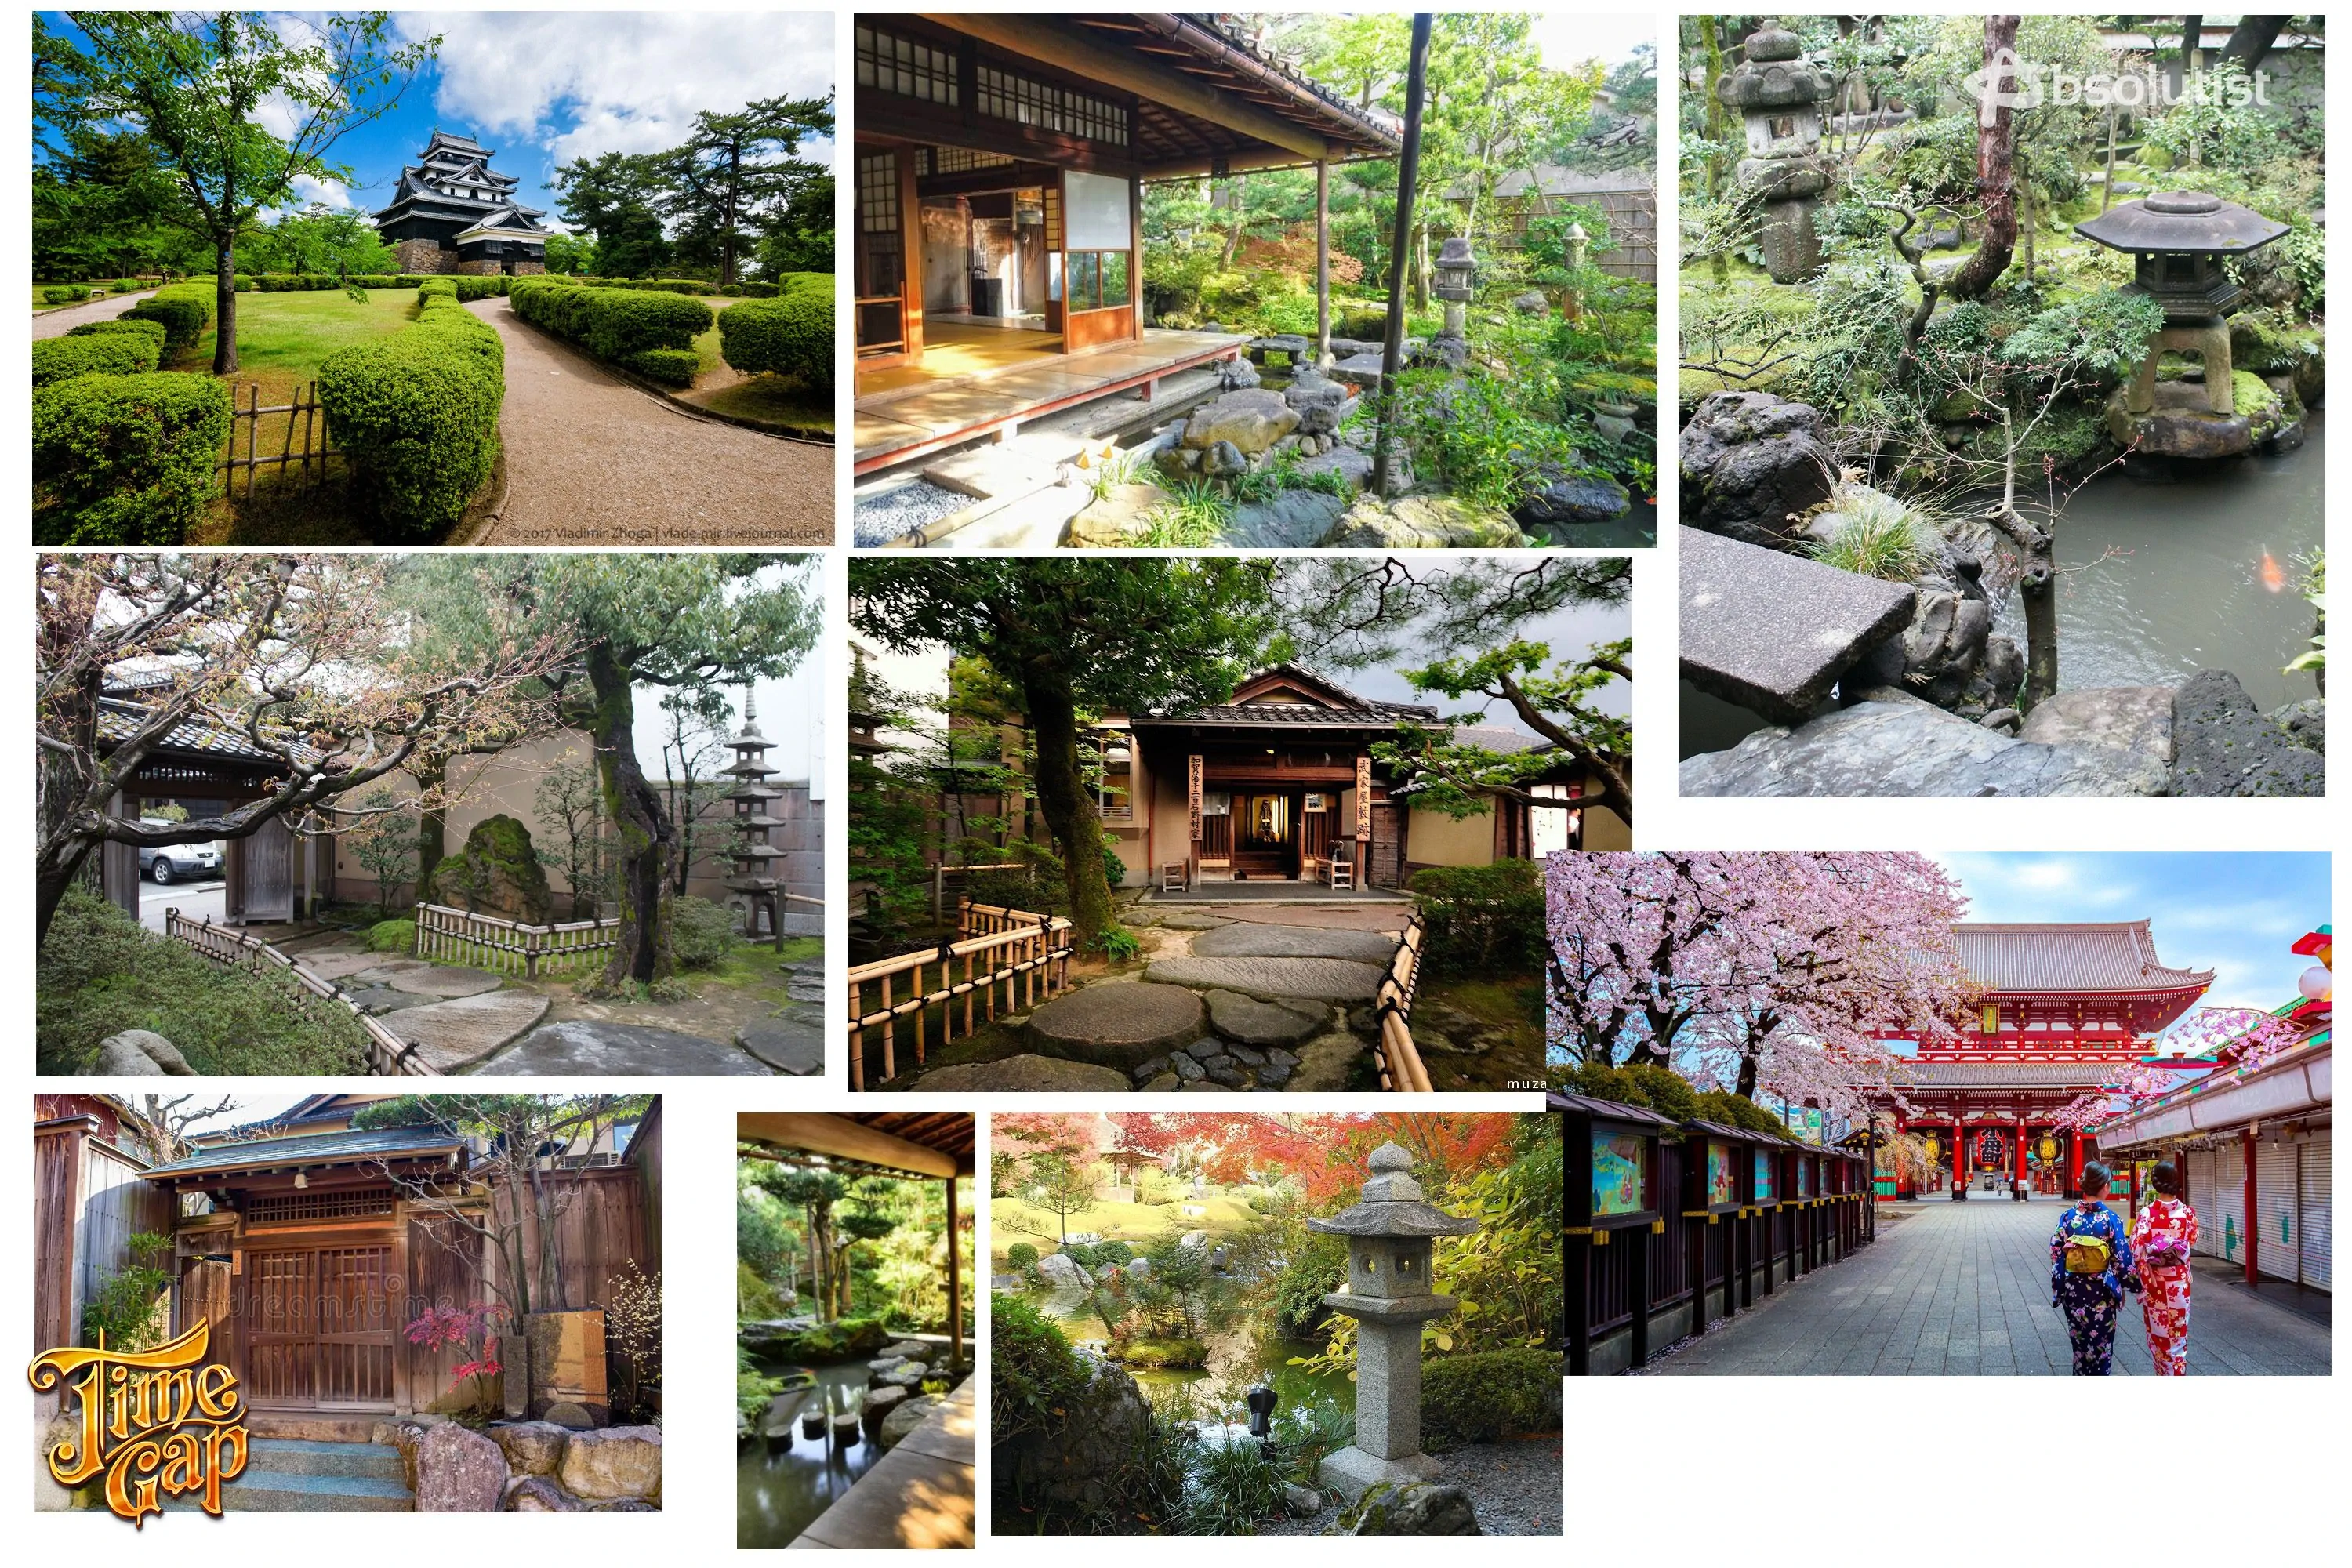
Refboard Stage
3. Create Thumbnails:
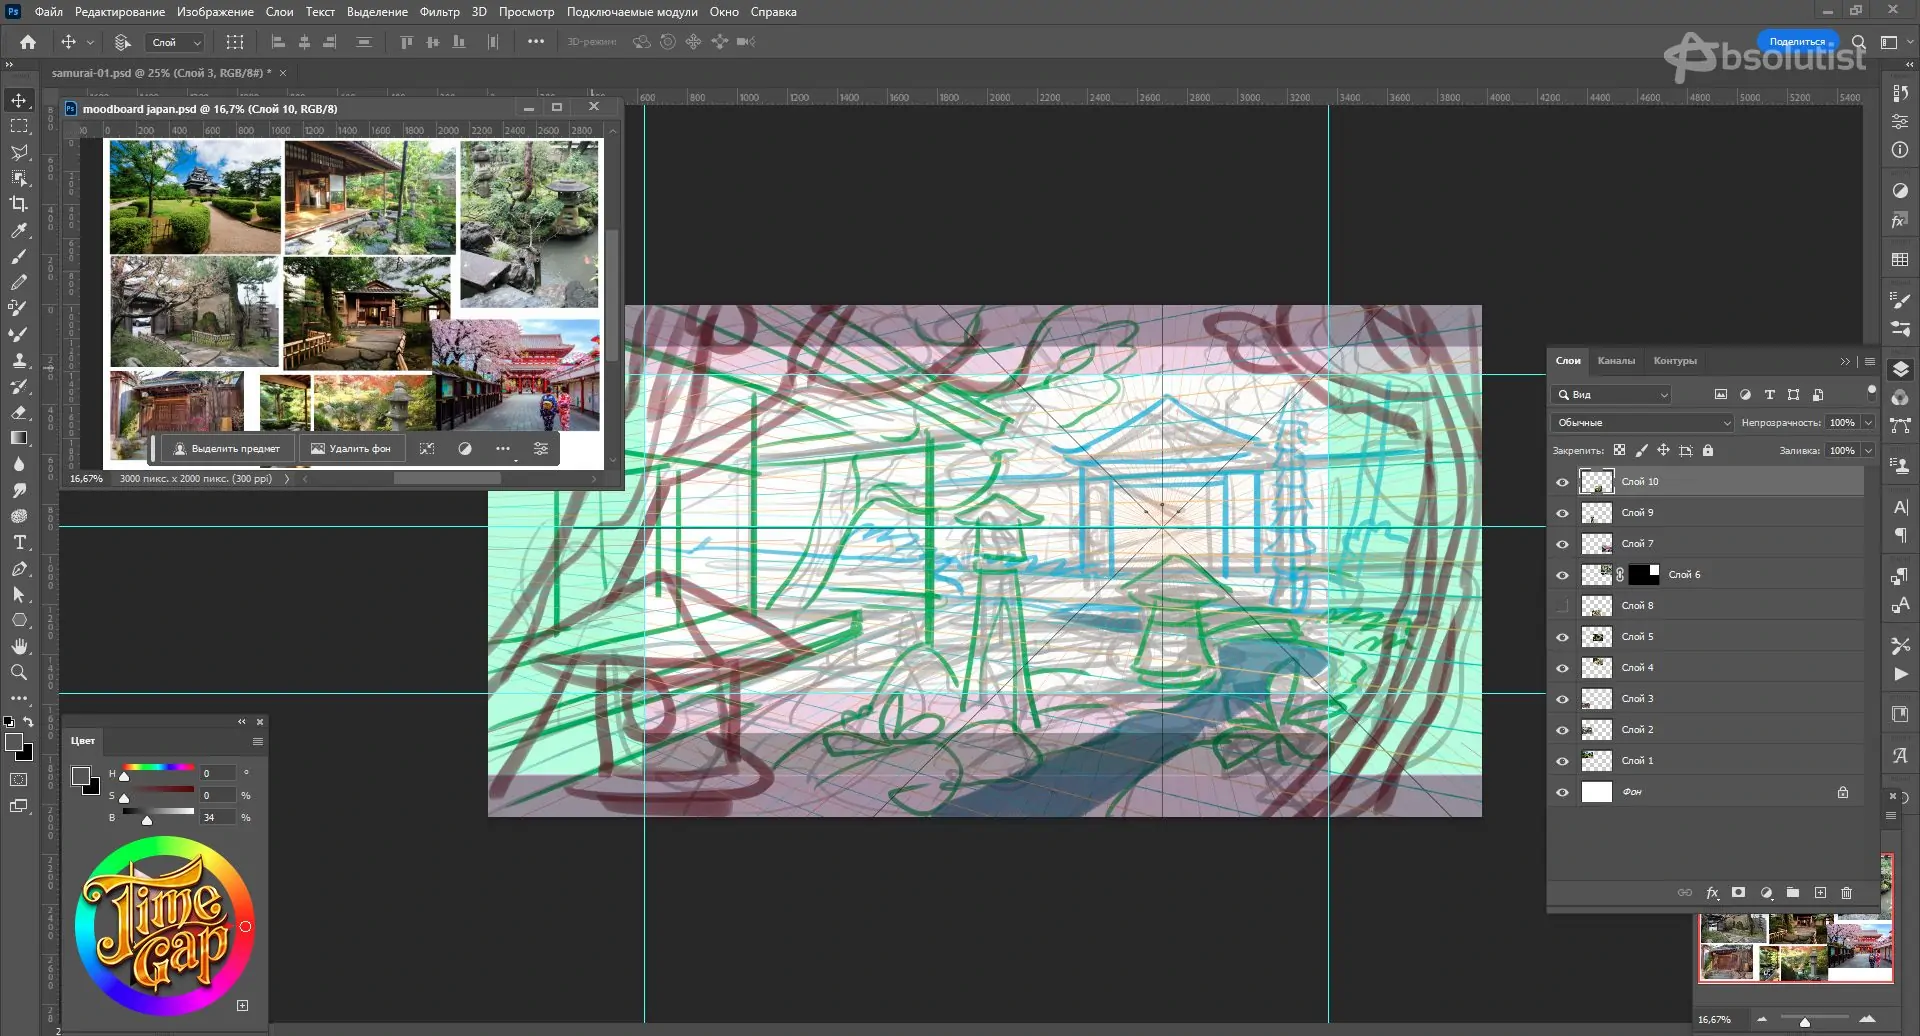
- Start with small thumbnail sketches to explore different compositions and ideas.
- Focus on creating interesting and visually appealing scenes that will engage players.
- Develop variations of the linearts to provide options for the team to choose from.
- Experiment with different perspectives, lighting, and color schemes.
- Share your linearts with the game development team for feedback in order to choose finally the best one.
- Be open to making adjustments based on the feedback received to ensure your art aligns with the game's requirements.
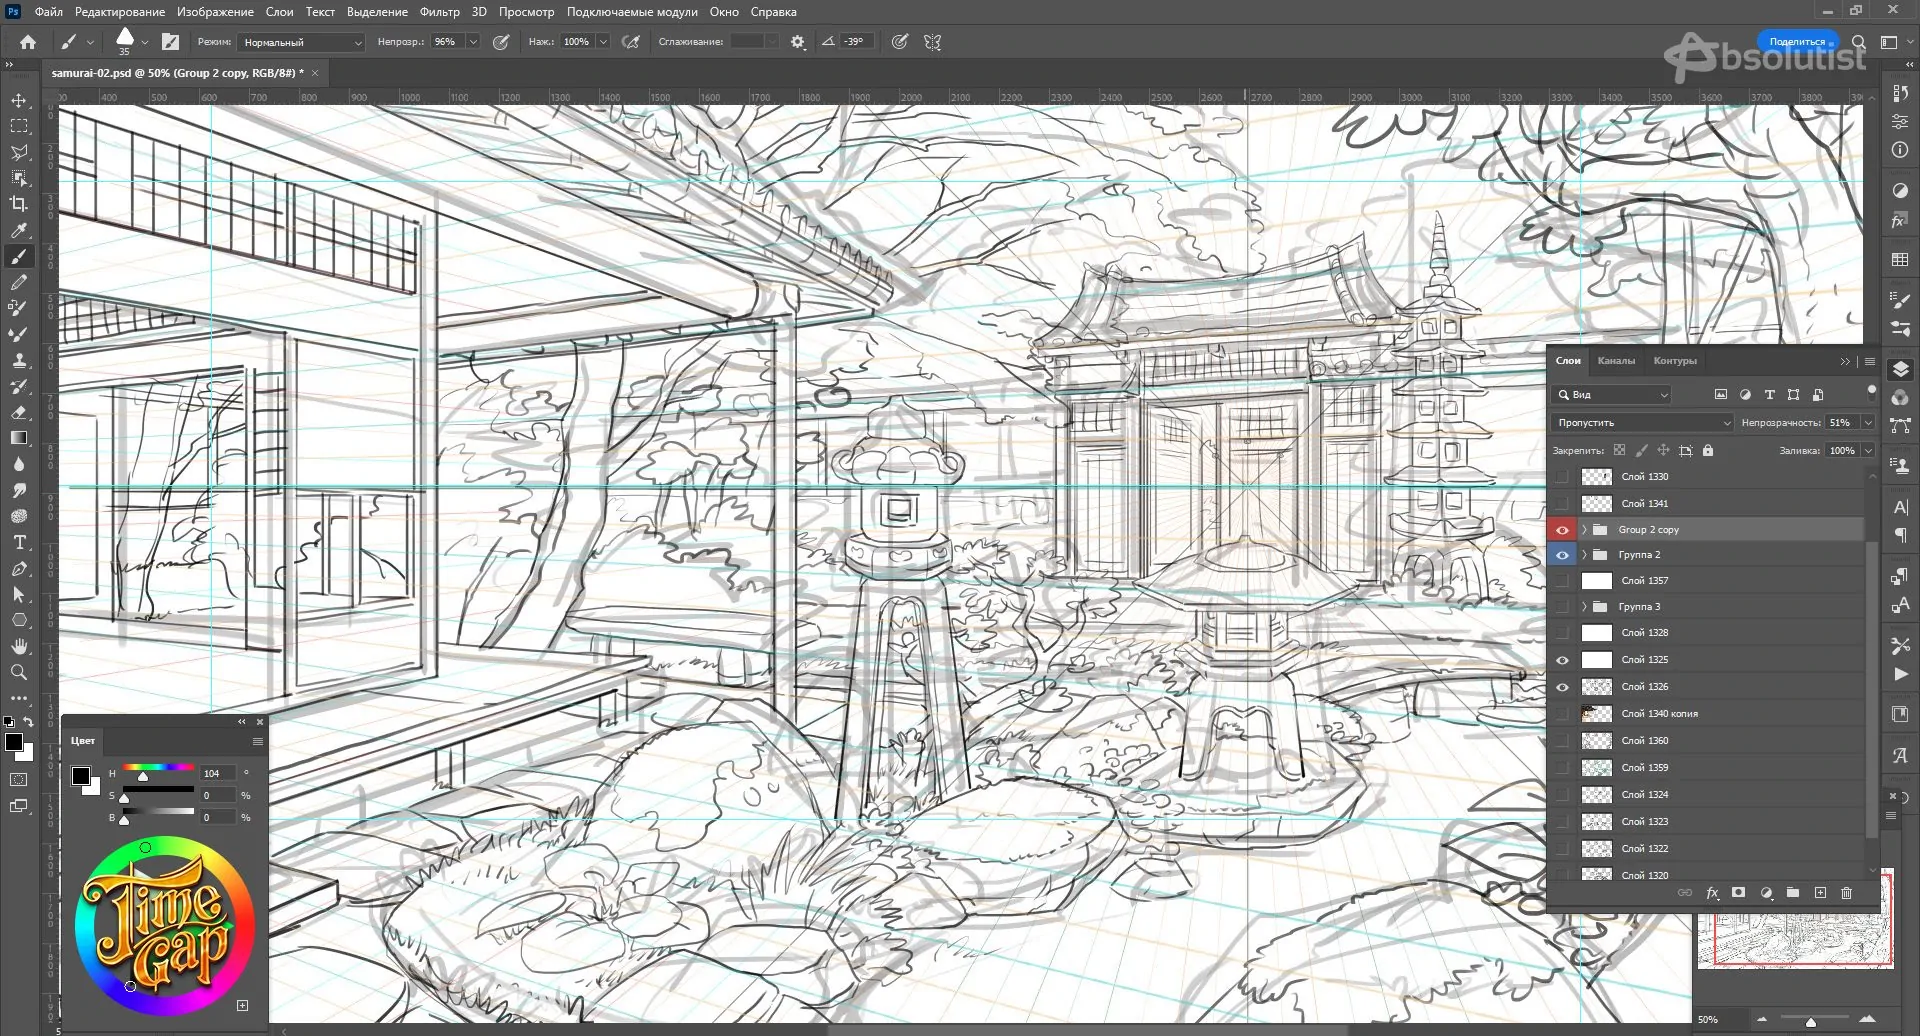
Once you've selected an ideal thumbnail, start refining the details. This stage is called Colour Concept.
4. Compliance with Scene Description and Story Plot.
- The sketch must correspond to the task’s time of day (day/night/sunset/dawn/twilight/golden hour, etc.) and weather conditions (bright sun/cloudy, etc.).
- If the location description contains a description of the mood, any color preferences, precise weather, then the brightness, contrast of the picture should emphasize this mood and not contradict it.
- For example, for an inquisitive, cheerful, playful mood, it is appropriate to use bright, rich colors and bright lighting.
- For a sad mood, muted, slightly grayish, not bright shades, cloudy weather would be appropriate.
- For a worried, tense atmosphere, more contrasting tones are appropriate, for a calm atmosphere - less contrasting ones.
- The location must correspond to the geographical location: the interior or exterior style, all architectural details should correspond to the city and country specified in the description.
- The location must correspond to the time period (specified years)
5. Elaborate Balanced Composition
- The picture as a whole should be balanced, there should not be large voids in one place and overload with details in another.
- The picture as a whole must have a well-planned design; there must be foreground, background and middle plans.
6. Consider Color Palette
- All location’s colors must match the mood, lighting and references. There should be no very dirty, unpleasant or too bright/poisonous colors.
- Pure black should not be used in graphics. All very dark/black objects need to be softened, lightened, diluted with other shades, such as blue and purple.
7. Create Lighting and Heat-Coldness Scheme
- The most successful is a combination of several types of lighting or a combination of warmer and cooler areas in the scene. For example, interiors can combine warmer artificial lighting and cooler window lighting. There may also be bright, warm sunlight from the windows combined with cold, less lit corners of the room.
- The location should not be dark, even if the daytime is night. Always remember that the user will be playing it on a small device with a middle light settings.
- The foreground should be well highlighted and detailed. The foreground should always be more contrasting and expressive.
- At background the contrast and expressiveness should decrease, the colors become a little paler, taking into account the aerial perspective.
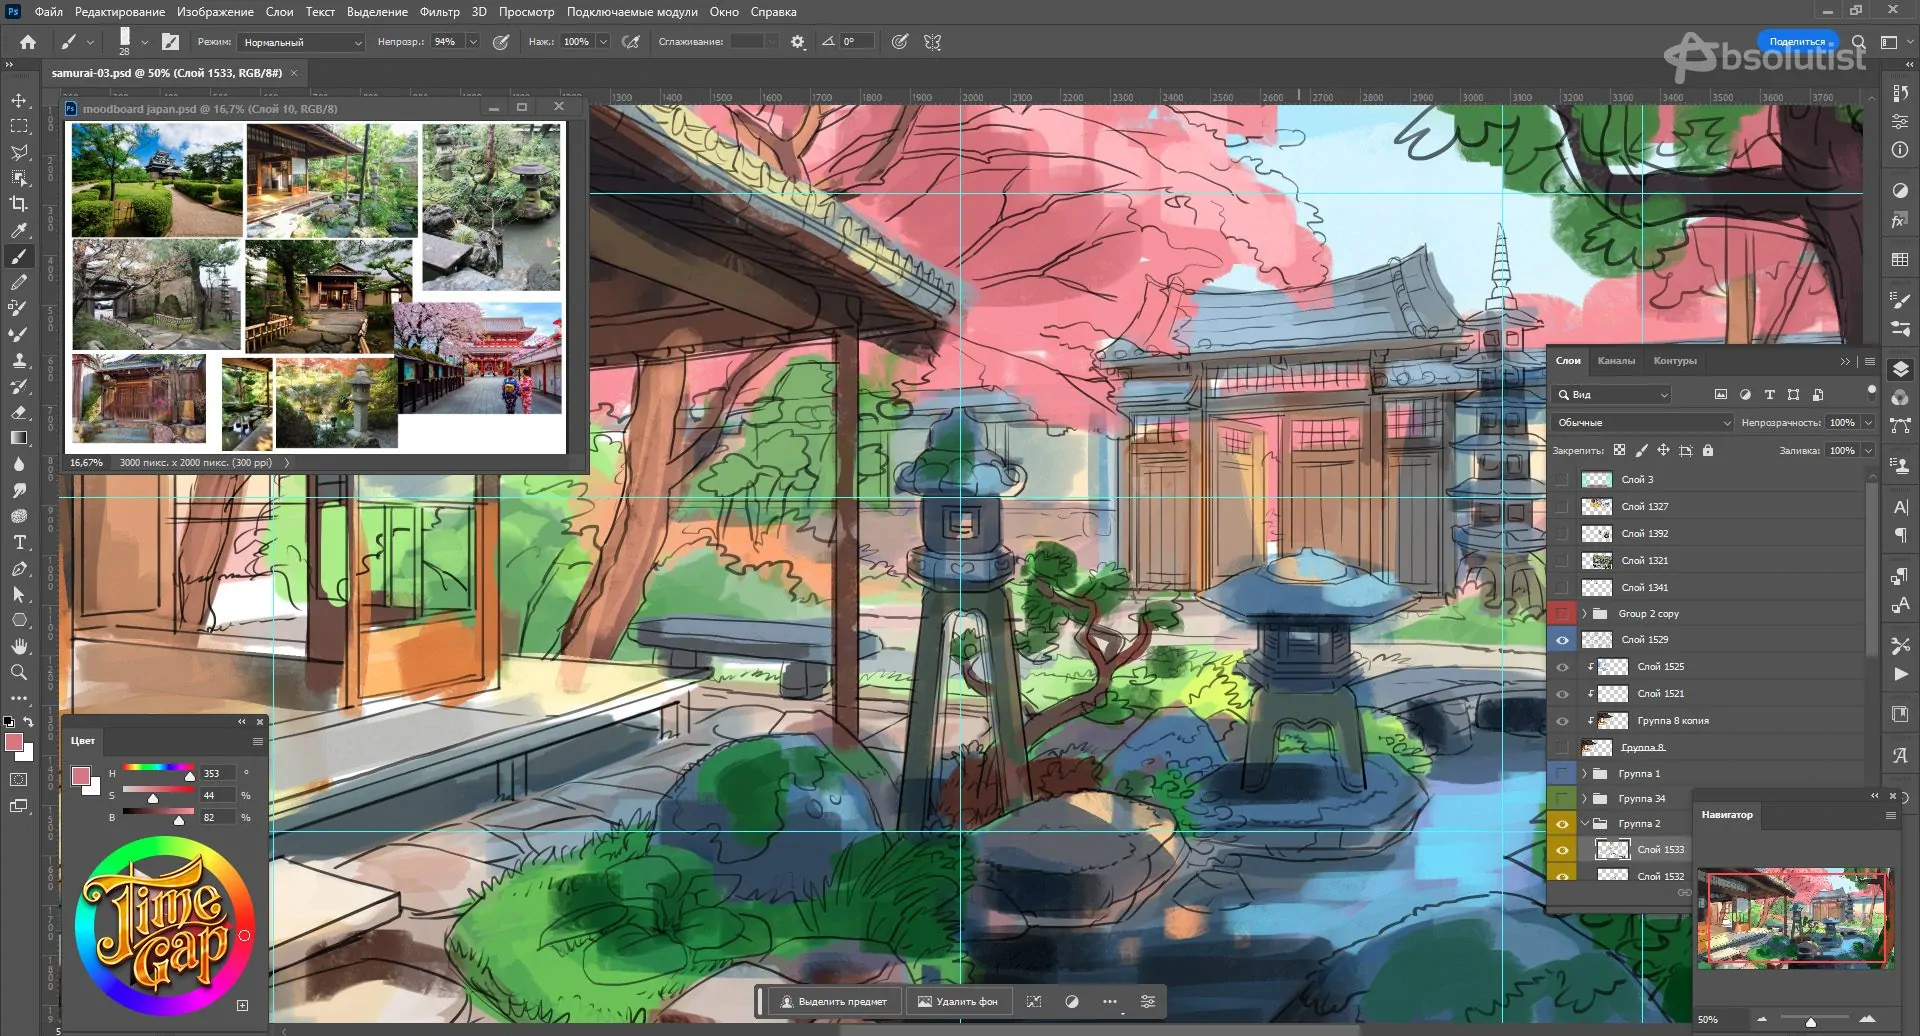
8. Take into Account UI Frame
- It is necessary to check how partially covered by UI frame objects remain recognizable and understandable to the player.
- If an item is mostly cut off, it is better to move it either outside the frame or inside.
9. Scaling
- The size of all objects in the scene must be compared with the size of human; there should be no very large or very small objects.
- All objects must be compared with each other, they must be proportional to each other, be the same scale and in a size familiar to the user.
- If the scene doesn’t contain the characters, it would be great to make the sketch human silhouette to demonstrate the valid sizes.
10. Containers for hidden objects
- The location should have several different plans in order to be able to use objects of different sizes for searching, thereby giving more variety.
- Usually the location has about 100 hidden objects, so imagine where you could put them.
- Сreate as many containers as possible to hide items. Use furniture in 100 percent - drawers and doors can be opened slightly. Do not leave walls empty, all surfaces and spaces should be filled with potential containers where objects can stand.
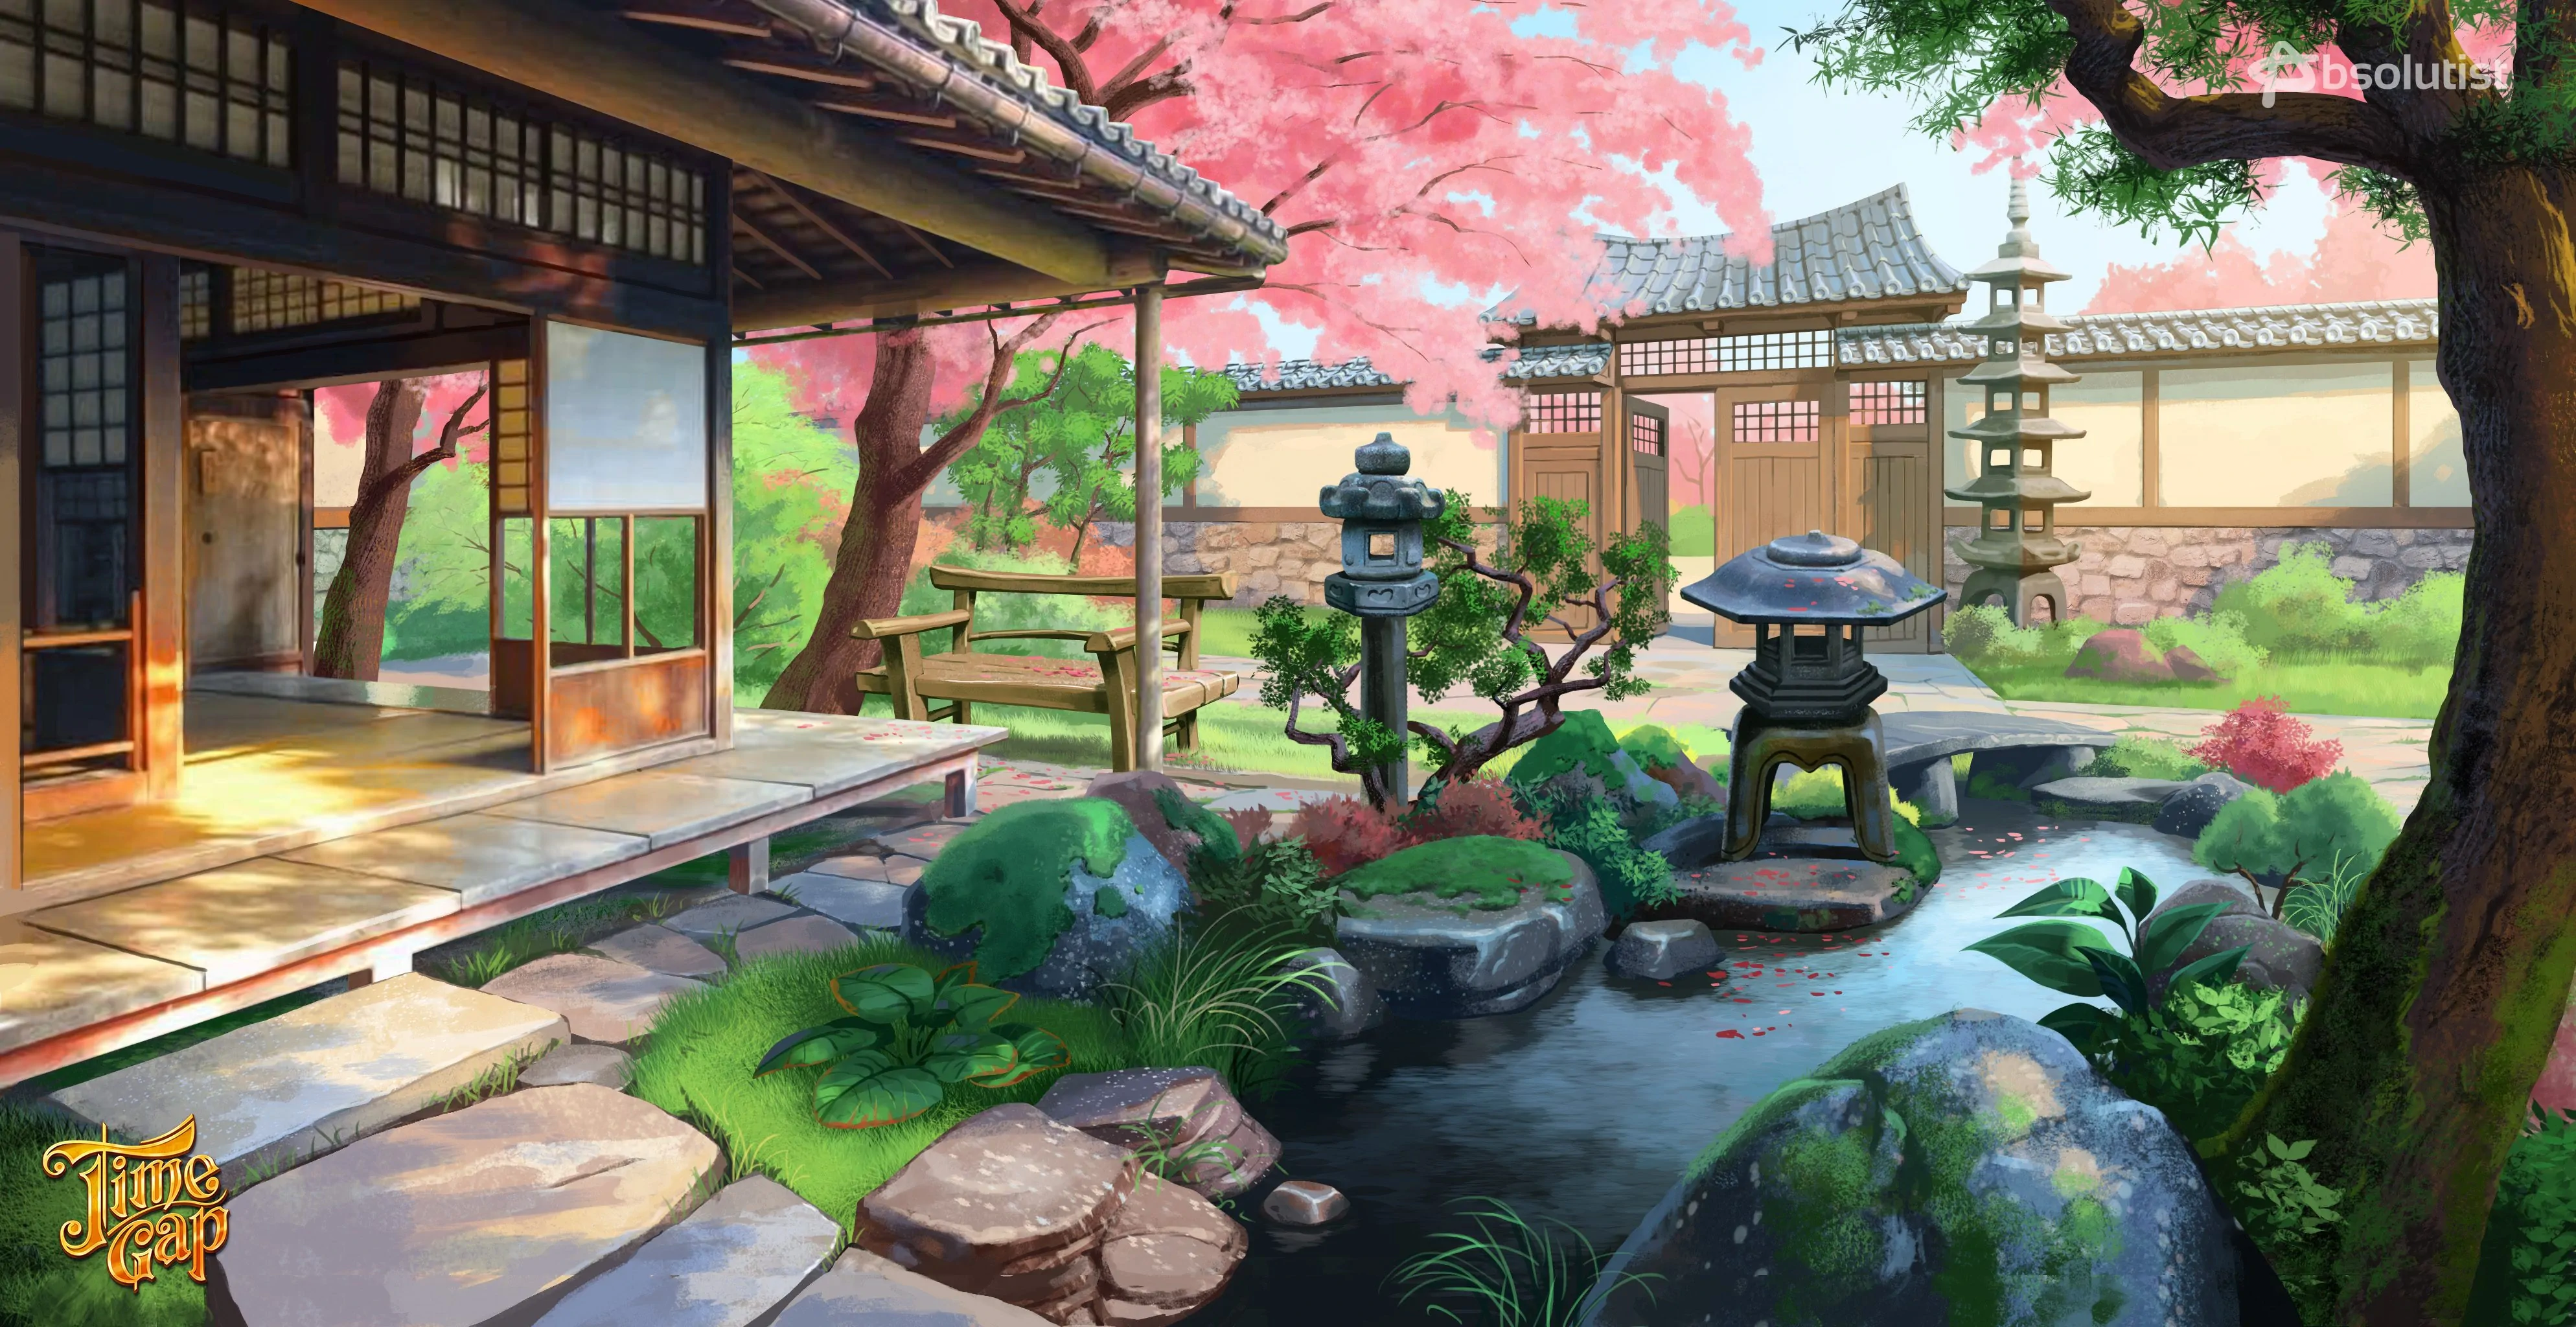
11. Digital Tools:
- Utilize digital tools like Photoshop, Procreate, or other graphic design software to enhance your concept art.
- Any 3D making programmes also will be helpful in order to make the scene’s box in a right perspective.
12. Iterate and Finalize:
- Iterate on your concept art based on feedback until the team is satisfied with the final result.
- Ensure that the concept art effectively communicates the gameplay and fits into the game's visual style.
- Prepare all the references needed for the next stage - 3D modelling.
Remember, the goal is to create concept art that not only looks visually appealing but also serves the gameplay mechanics of a Hidden Object Game.
Here is a few more work progress for your attention. Hope you like it and in this case we are glad to make the Concept Art for your need!
